

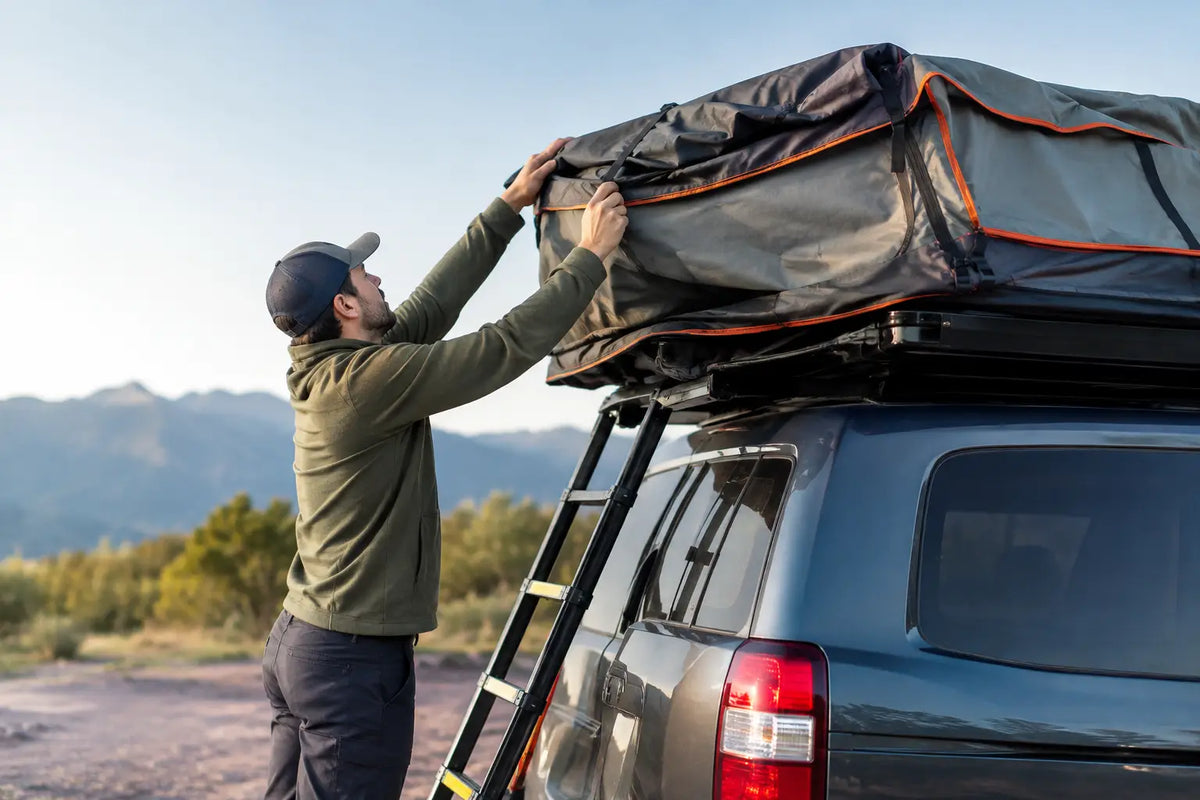
A great camp morning should end with coffee, not a wrestling match with wet canvas and an overstuffed roof tent. Knowing how to pack roof tent properly turns the last ten minutes of your stay into a calm, repeatable routine - and gets you safely back on the road with your vehicle ready for whatever comes next.
Roof tents are built to make outdoor travel easier. The same principle applies when you close them. A little order protects the fabric, keeps the shell or cover sitting correctly, and prevents the small frustrations that make an otherwise brilliant weekend feel needlessly hard work.
Pack before you are ready to leave
The fastest way to pack is to start before the car is fully loaded. Move bags, boots and breakfast kit out of the tent first, then give yourself clear space around the vehicle. If you are travelling with friends or family, one person can handle the tent while another packs the boot. No crowding around the ladder. No trying to close a tent with sleeping bags still piled at the entrance.
Before lowering anything, check the weather. A dry tent can be packed straight away. If the fabric is damp from overnight condensation, a quick wipe with a clean microfibre cloth helps. In light rain, pack efficiently rather than waiting for perfect conditions, but make a plan to open the tent and dry it thoroughly once you are home or at your next stop.
Never leave a wet roof tent closed for days. Moisture trapped in fabric can lead to mildew, odour and a less comfortable night on your next trip. British weather is part of the adventure. It just requires a sensible drying routine.
How to pack a roof tent step by step
Every model has its own closing sequence, so your tent's instructions should always lead. Hard-shell and soft-shell tents close differently, and ladders, poles, rainflies and window supports all have their place. Still, the core routine stays reassuringly simple.
Clear the sleeping space
Start by removing anything bulky or rigid. Shoes, lanterns, charging cables, water bottles and books are the usual culprits. Check the corners, too. A forgotten head torch or mug can stop the tent folding flat and may damage the mattress, shell or hinges.
You may be able to leave a thin sleeping bag, fitted sheet or low-profile duvet inside, depending on your roof tent and how it is configured. The key word is thin. Overfilling the tent creates pressure where there should be none, making the final closure harder and putting unnecessary strain on zips, straps and latches. If the tent will not close smoothly, remove bedding rather than forcing it.
Shake out loose dirt, leaves and crumbs before you fold. It takes seconds and keeps your sleep space feeling properly looked after.
Close windows, doors and internal panels
Zip every mesh panel, window and door fully. This gives the fabric a clean line as the tent folds and reduces the chance of mesh snagging in a zip or hinge. Remove or stow any window poles and tension bars in their designated position.
If your tent has a rainfly, make sure it is aligned and free of twists. Loose straps should be tucked in rather than left hanging. A strap caught in the closing mechanism is a small problem that can become an expensive one.
Fold the fabric in, not against the frame
This is the part that rewards patience. As you begin lowering the tent, guide the canvas inward with flat hands. Work from the sides towards the centre, keeping fabric away from hinges, ladder joints and the shell edge.
Do not stuff large folds of material into one corner. The aim is an even, compact fold that sits inside the tent's footprint. With a soft-shell tent, this often means walking around the vehicle once or twice to gather fabric as the cover comes down. With a hard-shell tent, it usually means checking both sides before bringing the lid to its final position.
If the tent resists closing, stop. Lift it slightly, find the obstruction and redistribute the fabric or bedding. Forcing the closure can bend components, pinch canvas or leave the tent insecure for the drive.
Stow the ladder correctly
The ladder is often the difference between a clean close and a frustrating one. Brush off mud, grit and moisture where possible, then collapse it according to the manufacturer guidance. Make sure each section is properly nested and that no part is sitting at an angle.
On fold-out roof tents, the ladder commonly provides structural support while the tent is open. Once it is collapsed, secure it where your tent's design intends. Never improvise with loose straps or assume the cover will hold the ladder in place on its own.
Secure every strap, latch and cover
Once the tent is closed, fasten each latch or compression strap in the intended order. They should feel firm, not forced. On a hard-shell tent, inspect the seal all the way around before locking it down. On a soft-shell tent, fit the travel cover evenly and zip it without pulling against trapped fabric.
Then do one final walk-around. Check that no canvas, mesh, straps or rainfly material is visible outside the closed tent. Look at the ladder, roof bars and mounting hardware. This is not overkill. At motorway speed, a loose cover or unsecured item becomes a serious safety issue.
The packing mistakes that slow everyone down
Most packing problems come from trying to save two minutes. Leaving too much bedding inside is one. So is closing the tent before the ladder has been properly collapsed, or zipping a cover over fabric that is still spilling out at the corners.
Another common mistake is packing an awning or tent extension at the same time as the roof tent. Detach extensions fully first, clear their poles and pegs, and pack them separately. Trying to manage two connected systems at once creates tangles and missed checks.
Avoid using excessive force on zips, buckles or latches. Quality gear is designed for hard use, not careless pressure. If a fastening feels wrong, the cause is usually visible: a trapped zip pull, uneven canvas, too much bedding or a ladder section that has not folded completely.
A smarter routine for damp and windy mornings
There will be trips when the sky opens just as you are about to leave. In that moment, speed matters, but so does protecting the tent.
Keep the door mostly closed while you remove your bedding, so rain does not soak the mattress. Wipe the interior floor and lower edges where water tends to collect. As you fold, shake off standing droplets where you can, then close the tent with fabric arranged as neatly as conditions allow.
When you get home, open it as soon as practical in a dry, ventilated place. If you cannot fully deploy it, open the shell or remove the cover enough to let air circulate, then dry the fabric before storing the vehicle. This simple habit is one of the best ways to preserve an all-weather shelter for years of weekends away.
High winds call for a slightly different approach. Keep one hand on the tent or ladder as you work, and avoid leaving loose panels to catch the wind. If conditions are genuinely unsafe, wait for a lull or ask a travelling companion to steady the setup. Confidence outdoors is not about rushing. It is about making the right call.
Check the tent once more before driving
After packing, drive a short distance and listen. A new rattle, flap or whistle can signal a loose buckle, ladder or cover. Pull over somewhere safe and inspect it rather than hoping it disappears.
It is also worth checking your roof tent mounts at regular intervals, especially after rough tracks, long journeys or the first few outings after installation. The tent should sit securely on compatible roof bars and within your vehicle's dynamic roof-load limit. Packing correctly is only one part of travelling with confidence; a sound mounting setup matters just as much.
The best roof-tent routine feels almost invisible. Pack with care, dry it when the weather demands it, and your escape stays exactly what it should be: less campsite admin, more road ahead.
Share:
Can Hatchbacks Carry Roof Tents? What to Check
Roof Tent Review: Is It Worth the Upgrade?