

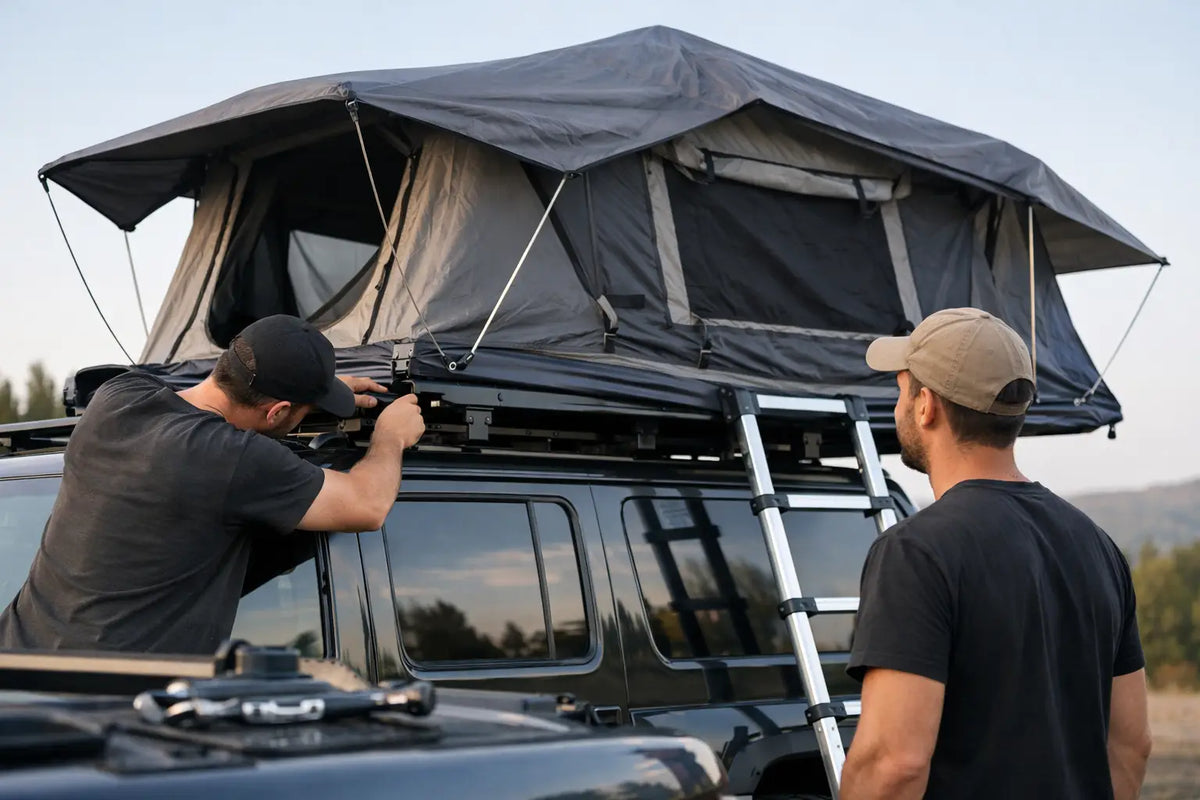
A Friday escape should start with a route, not an hour spent wrestling with gear in the driveway. Get your rooftop tent installation right, and your vehicle becomes a comfortable base camp that is ready when the city feels too close.
The job is straightforward, but it is not a place for guesswork. Your tent, roof bars and vehicle need to work as one system. A secure fit protects your investment, keeps handling predictable on the road and gives you the confidence to sleep well when the weather turns.
Before rooftop tent installation, check the numbers
Your vehicle’s roof is not simply a flat surface waiting for a tent. It has a maximum dynamic roof load: the weight it can safely carry while you are driving. This figure is the one that matters when choosing a tent and roof-bar setup.
Start with the vehicle handbook or manufacturer’s specification. Then check the weight of the tent, roof bars, mounting hardware and any accessories that remain on the roof while travelling. The combined total must stay below the vehicle’s dynamic roof-load limit.
Static load is different. This refers to the weight the roof can support while parked, and it is usually far higher than the dynamic rating. That is why a suitable vehicle can safely hold a tent and sleeping occupants once stationary, even where its driving limit seems modest. Still, use the ratings supplied by your vehicle, tent and roof-bar manufacturers rather than making assumptions.
Choose proper roof bars, not a workaround
A rooftop tent needs purpose-built crossbars with a stated load rating suitable for the job. Factory roof rails may look substantial, but rails alone are not the mounting surface. You need compatible bars fitted correctly to the vehicle’s approved fixing points or rails.
Look for bars with enough usable width for the tent’s mounting channels and a crossbar spread that meets the tent manufacturer’s requirements. Wider spacing generally creates a more stable platform, but every tent base has a recommended range. Bars placed too close together can allow unwanted movement and put extra stress on the tent floor.
Avoid improvising with damaged bars, unknown second-hand hardware or fittings designed for light luggage only. A rooftop tent faces motorway speeds, crosswinds, uneven lanes and repeated opening cycles. Premium gear deserves a secure foundation.
Check the practical fit as well
Measure your roof before delivery day. Confirm the tent will sit clear of aerials, roof-mounted sensors, spoilers and tailgates. Think about which side the ladder will deploy from, particularly if you regularly park on a narrow drive or use campsites with limited pitch space.
Also consider height. Measure from the ground to the top of the closed tent once it is mounted. Add this figure to a note on your phone or a label near the driver’s visor. Car parks, height barriers and some drive-throughs become a different calculation with a tent overhead.
Rooftop tent installation: a secure, clean process
Set aside unhurried time and recruit a second person. Most rooftop tents are bulky rather than complicated, and lifting one alone risks injury, paint damage and a poor first alignment. Choose a level, dry surface with enough room around the vehicle to move safely.
Before lifting, assemble the roof bars according to their instructions and check that every foot, clamp and cover is properly seated. Give each bar a firm shake. It should feel planted, with no sliding, rocking or visible flex at the attachment points.
Lift the closed tent onto the bars with the base facing down and the opening side oriented where you want it. Keep it centred from left to right, then position it fore and aft according to the tent and vehicle guidance. A tent mounted too far forward may interfere with the windscreen area or sunroof. Too far back can affect tailgate clearance and make the vehicle feel less balanced.
Once the tent is in place, open the mounting channels or access points in the base. Slide the supplied bolts and plates into position around each roof bar, then fit washers and nuts by hand. Do not fully tighten one corner before the rest are engaged. Instead, bring every fixing into contact first, confirm the tent is square to the vehicle, then tighten progressively from side to side.
Use the torque guidance in your tent’s installation manual where it is provided. Overtightening can damage threads, crush certain bar profiles or put unnecessary pressure on the tent base. Undertightening invites movement. The correct setting is not a feeling: it is the manufacturer’s specification.
When all fixings are secure, fit any protective caps, lockable covers or retention straps supplied with the system. Stow loose tools and packaging before moving the vehicle. Then step back and inspect the tent from every angle. It should sit level, centred and firmly connected to both crossbars.
The checks that make the difference
The first few miles matter. Drive a short local route with the radio low and listen for rattles, knocks or wind noise that feels unusual. A small amount of extra wind sound is normal with any roof-mounted load. Sudden vibration, shifting or clunking is not.
Park on level ground and recheck every mounting point. It is sensible to repeat this after your first journey, after the first motorway run and at regular intervals afterwards. Road vibration can settle new hardware, particularly after the initial installation.
Before your first overnight stay, practise opening and closing the tent at home. Deploy the ladder, check its angle and make sure both feet rest firmly on the ground. The ladder is structural support, not an afterthought, so never use it at an extreme angle or on loose footing. Learn where the rainfly, windows, straps and internal lighting controls are before you are doing it in wind or rain.
If your tent includes a mattress, bedding storage or an extension, confirm what can remain inside while travelling. Keeping bedding packed can make a spontaneous departure brilliantly simple, but only if the tent closes cleanly and stays within its specified packed height. Forcing the shell or cover shut shortens the life of zips, fabric and fixings.
Common mistakes worth avoiding
The most common error is treating the roof load as a tent-only number. Bars, brackets, awnings and storage all count while driving. The second is fitting a tent to crossbars without verifying that the bars themselves are approved for the vehicle and the load.
Another is overlooking access. A rear-opening vehicle may need the tent moved slightly forward to preserve tailgate clearance, while some vehicles require attention around panoramic roofs or shark-fin aerials. These are simple details to resolve before tightening the final bolts, not after.
Finally, do not forget the effect on the road. A rooftop tent changes vehicle height, aerodynamics and centre of gravity. Leave more room for braking, take bends smoothly, expect stronger crosswind effects and slow down on rough tracks. This is not about making a capable vehicle feel fragile. It is about driving with the control that makes long-distance travel more enjoyable.
Keep the system ready for the next escape
A quick inspection belongs in your pre-trip routine. Check the roof bars, mounting hardware, ladder catches, fabric cover and zips. Remove leaves and grit from the tent base, and make sure the cover is dry before storing the tent closed for long periods. If you have travelled through coastal air or salted winter roads, rinse and dry exposed hardware to help preserve the finish.
Do not use a rooftop tent as a permanent roof storage platform. Keep cargo within the tent manufacturer’s guidance, and remove the tent if you will not use it for an extended period or need to restore fuel economy and low-clearance access for daily driving.
The reward for this care is beautifully simple: pull up, release the cover, climb up and settle in above the mud, wet grass and uneven ground. With a correctly fitted tent, the journey out of town does not begin when you reach the campsite. It begins when you decide to go.
Share:
What Does Rooftop Tent Warranty Cover, Really?
Overlanding Gear Checklist for Better UK Escapes