

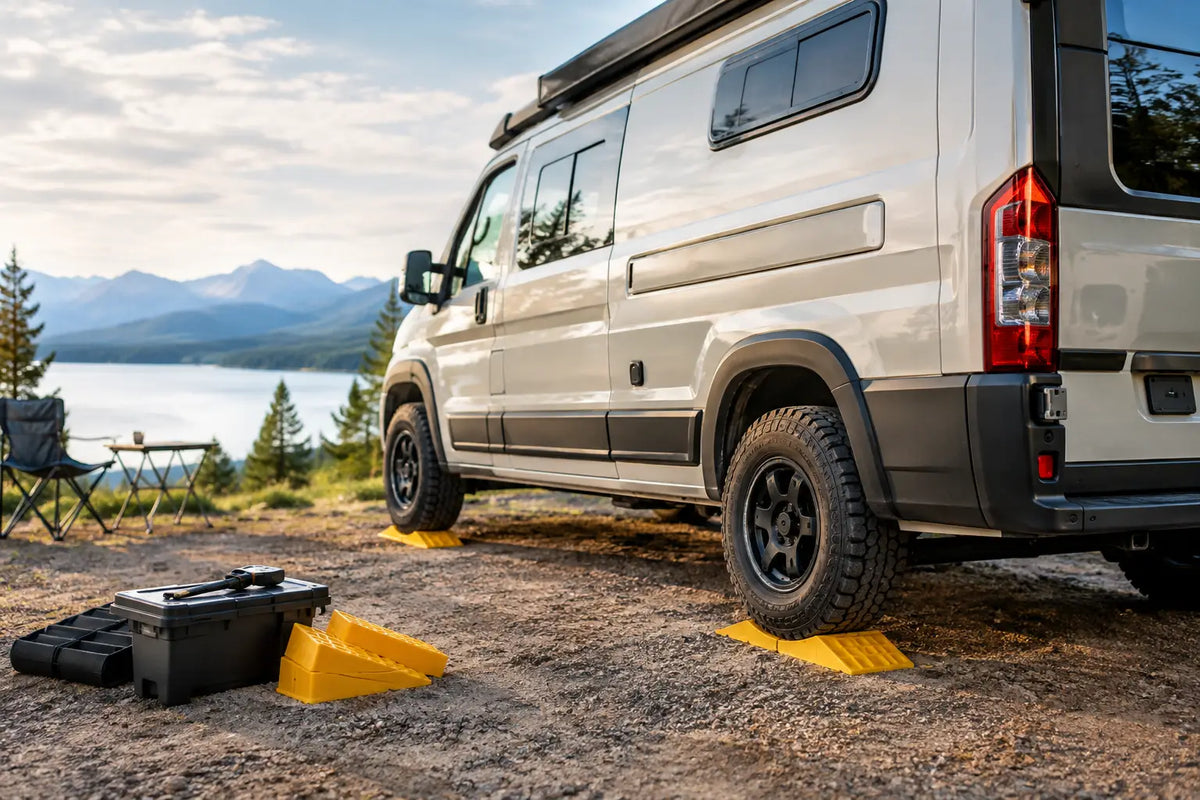
A great campsite can lose its appeal fast when your head is lower than your feet, the kettle slides across the worktop and every turn in bed feels like a slow roll downhill. Knowing how to level a camping vehicle is one of the smallest setup skills with the biggest impact. Get it right and your vehicle becomes what it should be: a calm, comfortable base for life beyond the city.
Levelling is not about achieving laboratory-perfect flatness. It is about creating a stable, safe place to sleep, cook and relax - especially when you are using a rooftop tent, awning or tailgate kitchen. A few deliberate minutes on arrival can make a wet, uneven field feel far more considered.
Start with the pitch, not the levelling ramps
Before reaching for ramps, walk the pitch. Look for the most naturally level area, firm ground and a sensible route in and out. The flattest-looking patch is not always the best choice if one wheel will sit in soft mud, a hollow will collect rainwater, or the vehicle will be facing directly into a strong wind.
Aim to park with the vehicle as close to level as the site allows. If possible, keep the biggest slope running from front to back rather than side to side. Sleeping across a sideways slope is usually more noticeable, and it can make a rooftop tent feel less settled when two people move around inside.
Think about the wider camp layout too. Leave room to open doors, deploy an awning and access your tent ladder without stepping straight into a puddle or bramble patch. Comfort starts before the ramps come out.
Check the slope before you commit
You do not need specialist equipment to judge a pitch, but a small spirit level or a levelling app can remove the guesswork. Place your phone on a flat internal surface, such as the centre console or a shelf, rather than on a seat. Check both directions: side to side and front to back.
Your body will often tell you enough. Stand inside for a moment. Do you naturally lean towards one door? Does a bottle roll across the floor? Is the fridge or cooking surface obviously off level? Small angles are manageable, but the more pronounced the slope, the more carefully you should assess whether that pitch is worth using.
For rooftop tents, always follow the tent manufacturer's guidance on maximum acceptable slope and ladder position. The ladder should sit firmly on the ground, not hover, sink or carry the tent's weight at an awkward angle. A rooftop tent is built for elevated comfort, not for compensating for a wildly uneven campsite.
How to level a camping vehicle safely
The simplest method is to raise the low side of the vehicle with purpose-made levelling ramps. These are shaped blocks that allow you to drive up in gradual stages, giving you controlled height without balancing tyres on improvised materials.
Start by identifying which wheels need raising. If the vehicle leans to the left, raise the left-side wheels. If the front is low, raise the front wheels. On a diagonal pitch, you may need to raise one wheel more than the others, but keep adjustments measured. Extreme correction can create new problems with stability, drainage and access.
Set the ramps directly in front of or behind the tyres, depending on which way you need to move. Make sure they sit on firm ground with their ridged surface facing the tyre. Ask a travel partner to guide you slowly, or use a clear visual marker to judge when the wheel reaches the required level.
Drive with gentle, steady throttle. Do not rush the ramp or spin the tyres, particularly on wet grass. Once in position, apply the handbrake, select park or first gear as appropriate for your vehicle, then place wheel chocks against the tyres. Chocks are not optional on a meaningful slope. They help stop an accidental roll while you settle in, load gear or move around the roof tent.
Recheck the level from inside. If it is not quite right, move off carefully and make another adjustment. It is better to take two calm attempts than force the vehicle higher than needed.
Never use the vehicle jack for campsite levelling
A jack is for controlled maintenance, not for holding a vehicle up while people sleep or move around inside it. It can sink into soft ground, shift under load or create a dangerous point of instability. The same applies to stacks of loose timber, rocks, bricks or whatever happens to be near the pitch.
Purpose-made ramps and chocks distribute weight more predictably. They are compact, quick to use and far safer than improvised fixes. Premium camping is not about carrying more gear for the sake of it. It is about bringing the right gear so the setup stays effortless when the weather turns or daylight disappears.
Get the rooftop tent and ladder right
Once the vehicle is levelled, set up the rooftop tent as normal, then inspect the ladder before climbing in. Its feet should be on solid, reasonably level ground, with the correct angle and enough grip to stay planted. Avoid placing it on slippery stones, loose gravel or a steep downslope.
If your tent opens over the side of the vehicle, the lean of the car affects the ladder side most. A vehicle that is only slightly off-level may still need a small adjustment if the ladder feels unstable. Do not use the ladder to force the tent into position or take up a large height difference.
Wind also matters. If strong gusts are expected, make sure the vehicle is secure, the awning is properly pegged and the tent fabric is tensioned according to its instructions. Levelling ramps improve comfort, but they do not replace good campsite judgement.
Account for ground conditions and vehicle weight
A hardstanding pitch and a damp grass field demand different decisions. On firm gravel, ramps are likely to stay put. On soaked ground, even a well-positioned ramp can press into the surface under the weight of a loaded vehicle. Check again after a few minutes, especially if you have arrived in rain.
Heavier vehicles, fully loaded expedition setups and vehicles carrying rooftop tents need ramps rated for their weight. Check the total loaded vehicle weight rather than guessing from the size of the car. A compact SUV with passengers, water, recovery gear and camping equipment can weigh considerably more than it does on the driveway.
Be cautious on pitches with a pronounced slope, deep ruts or loose surfaces. Sometimes the best call is to choose another space, turn the vehicle around or accept a slightly less scenic spot that gives you a secure night. The view is better when you are not sliding towards the footwell at 3am.
A simple arrival routine worth keeping
The fastest campers are not careless. They have a repeatable sequence. Park and assess the ground. Decide where doors, awning and ladder will go. Level the vehicle with rated ramps. Apply the handbrake and fit chocks. Check stability, then build camp.
This order prevents the familiar frustration of setting up a tent, only to realise the vehicle needs moving 30 centimetres. It also protects the quieter part of the evening: the point where dinner is on, the rain is tapping the fabric and the campsite finally feels like yours.
Urban Caveman gear is built around that kind of freedom - less time wrestling with setup, more time using the place you drove out to find. But even the most refined vehicle-camping system works best on a solid foundation.
Pack levelling ramps and wheel chocks where you can reach them first, not buried beneath chairs and sleeping bags. When the perfect pitch is slightly imperfect, those two pieces of kit turn compromise into comfort.
Share:
Tent Extensions That Make Camp Feel Bigger
Do Roof Tents Fit Estates? What to Check First